Overview
Firewalls help protect infrastructure as part of any standard defense in depth strategy, at Nobull Networks, you can manage a firewall for your VPS directly through the client portal. This firewall allows you to configure and update settings that are outside of the software running inside your VPS as they run on the parent hypervisor hardware node. This means that you can adjust these settings even when you do not have direct access to the operating system of your VPS. You can add additional security by configuring a firewall to run inside of your VPS as well; however, for the purpose of this article we are focusing on the provided option in the client portal. By the end of this article you should have a familiarity on how to manage the firewall, which sections will allow you to enable or disable it, as well as being able to add, adjust, and enable or disable firewall rules.
Important! Your VPS by default should have the firewall enabled with rules by default, meaning it is an implicit deny for all inbound traffic. In order to access your VPS you will need to configure firewall rules.
Article Content
1. Navigate to https://clientportal.nobullnetworks.com/clientarea.php
2. Once logged in, you will need to click on your product or server of choice, for use in this demo we are using the "Unmanaged Premium Virtual Private Servers - VPS 2G" to click on.

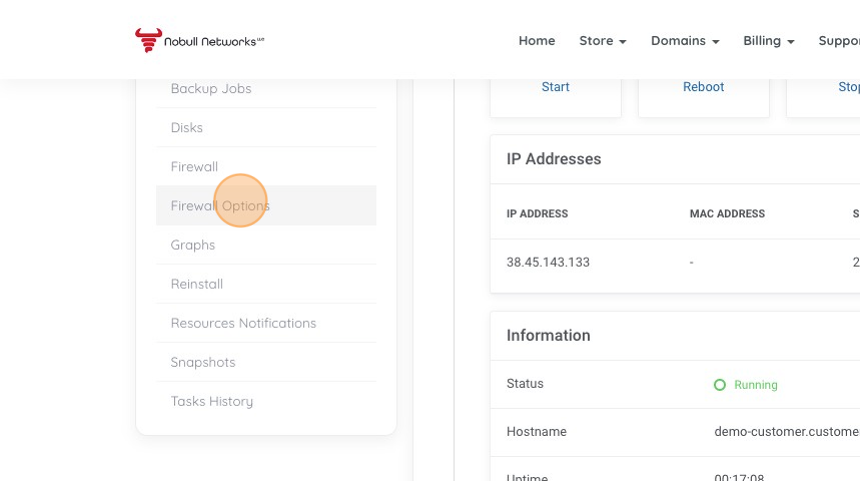
3. Click "Firewall Options" to validate that your firewall is active. If it is disabled, then all traffic will be allowed and no firewall is filtering traffic. This may be an acceptable space for your server if you are for example managing a firewall from inside of your VPS. If you are not using the standard firewall service you can enable it from this section.
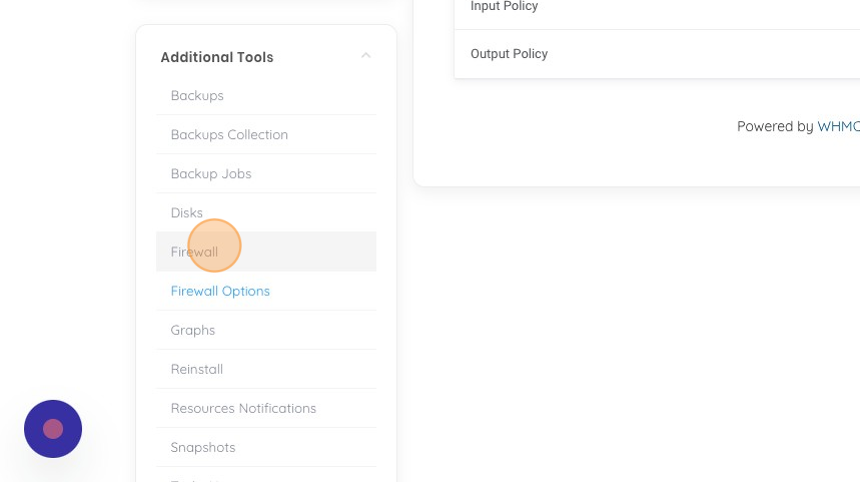
4. Click "Firewall", this section is where we manage our Firewall rules.
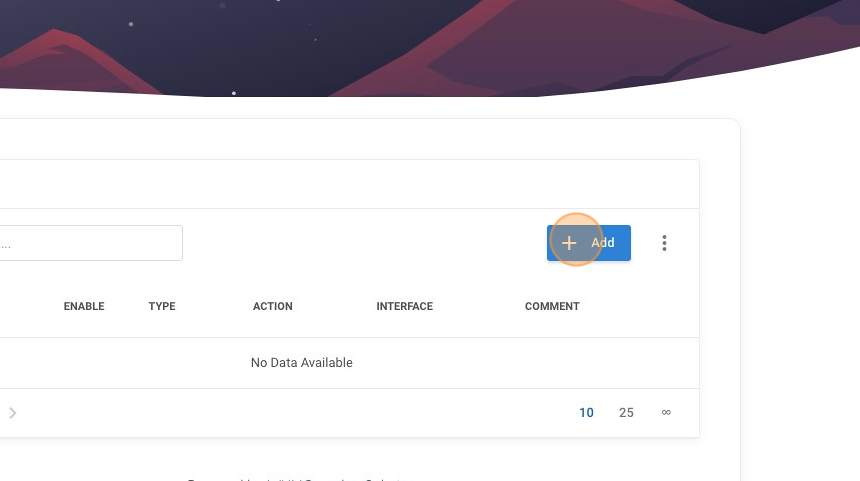
5. As we see, there are currently no firewall rules, lets go ahead and add a new rule by clicking on "Add".
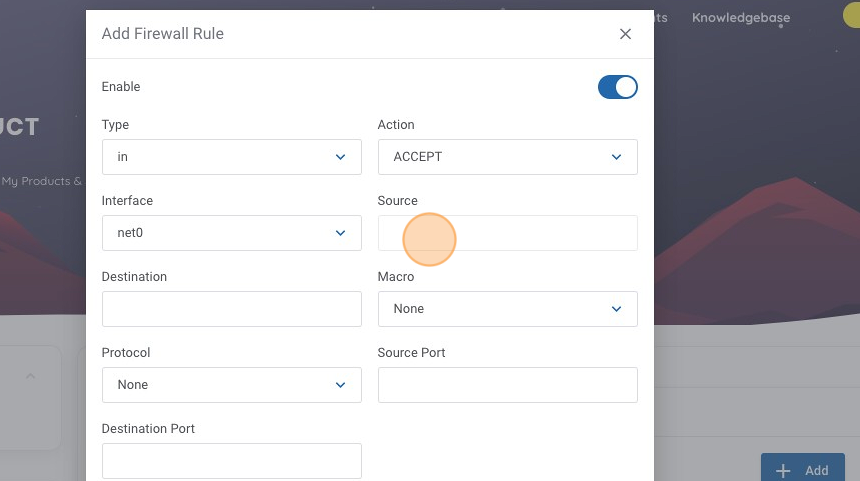
6. Ensure you click on enable to toggle the rule to be one once you submit, if you do not, don't worry we will show you another way later in this article.
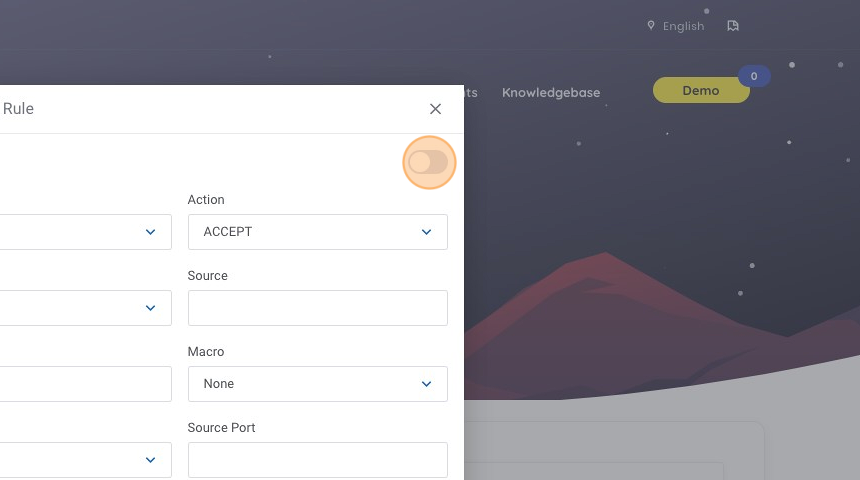
7. For this rule I want the internet to be allowed to ping my server, so we need to click on the Source text field.
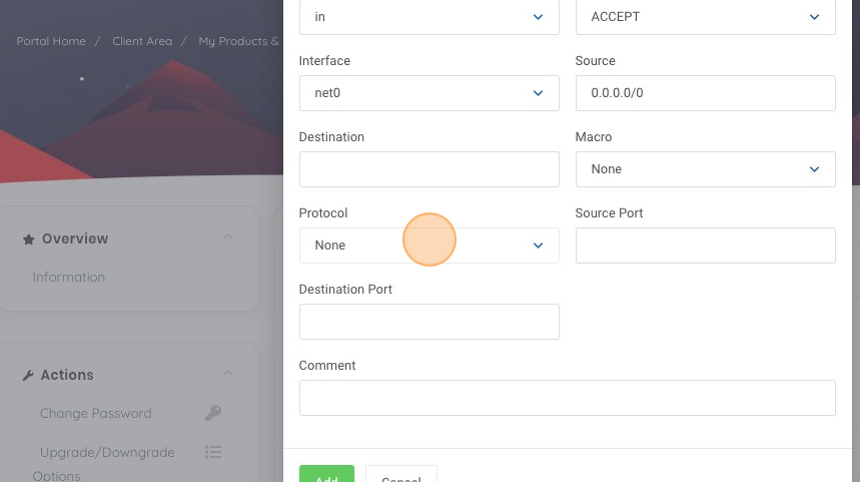
8. Type "0.0.0.0/0", this represents that we want to allow ANY source, this field should be noted in CIDR notation.
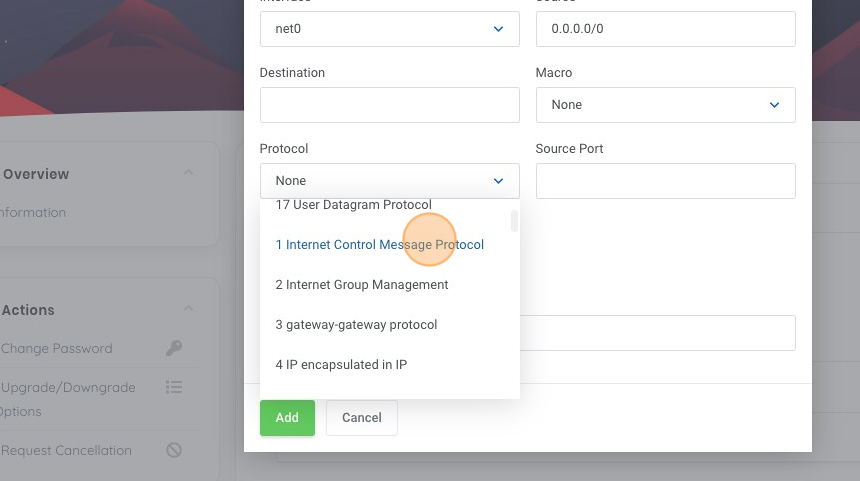
9. As we are looking to enable ICMP ping responses, lets click on the Protocol dropdown menu.
10. Click "1 Internet Control Message Protocol", as this is the protocol for ICMP.
11. Let's add a helpful comment so when we are reviewing our rules later, we get an idea on what it is this rule is doing. Click the comments text field.
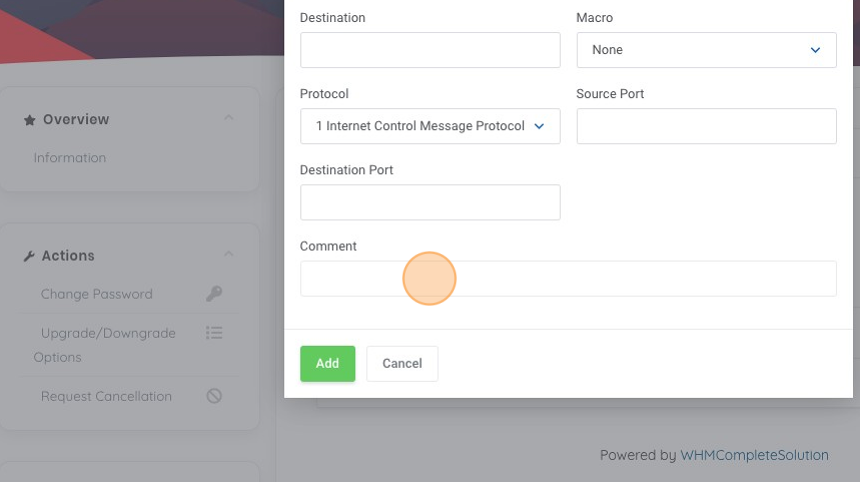
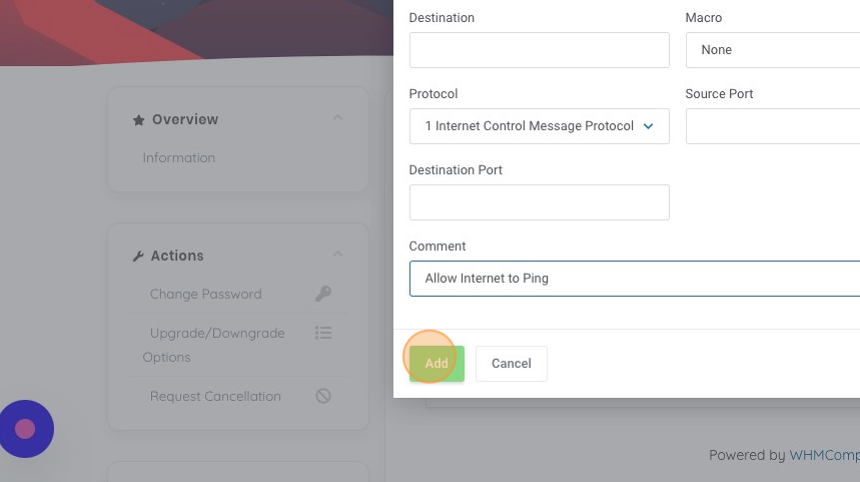
12. Type "Allow Internet to Ping", this tells us the action of the rule, an allow statement, tells us the sources that are allowed, and the function it provides "ping" in this case.
13. Now let's add our rule by clicking "Add".
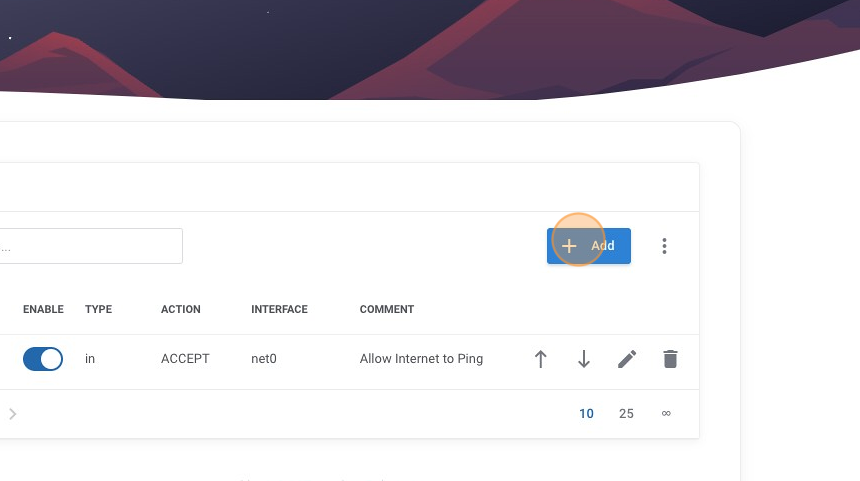
14. We can now see our new rule is added and currently the only active rule. We can see it has a helpful comment and that it is enabled by the blue toggle indicator. We should now be able to ping our host and get a valid response from it; however, this only lets us test connectivity, let's add another rule so we can connect via SSH to our machine. We do this by once again clicking on the "Add" button.
15. Similar to our first rule, we want anyone on the internet to be allowed for this rule, so we have filled our source in as "0.0.0.0/0". Notice in this example we didn't toggle the enabled option, so we will enable this rule after we create it. In this case SSH is a known "macro" so lets click on the "Macro" menu.
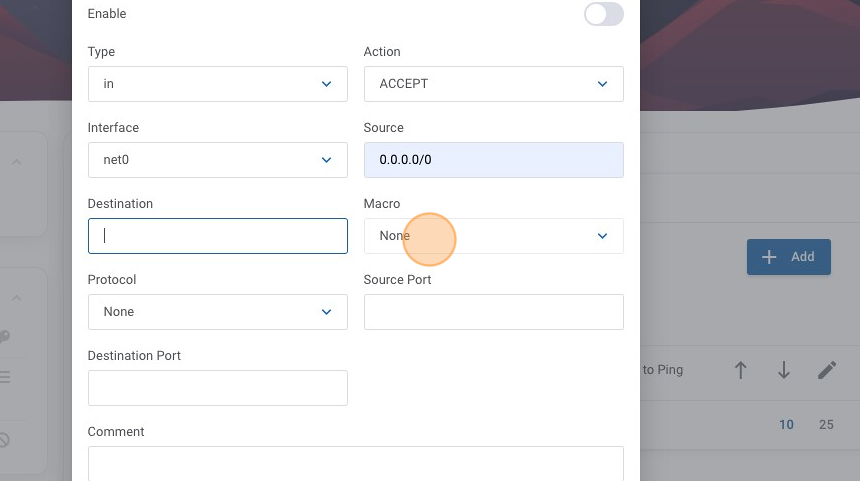
16. Click "Secure shell traffic"
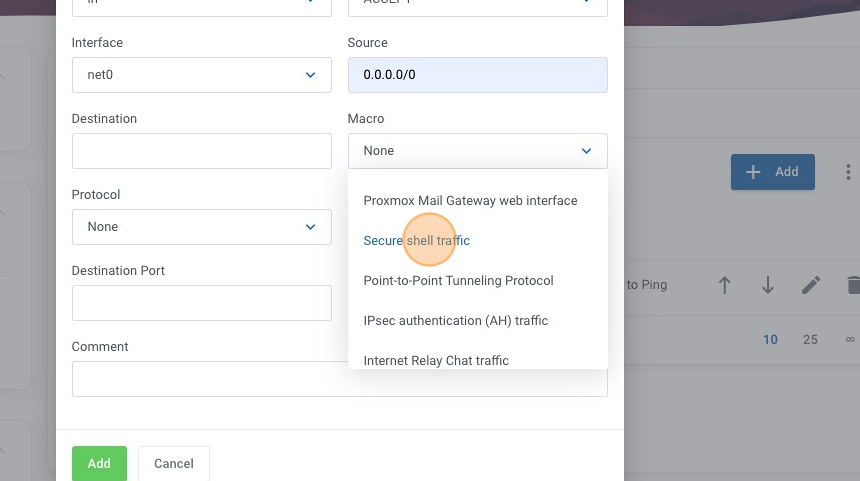
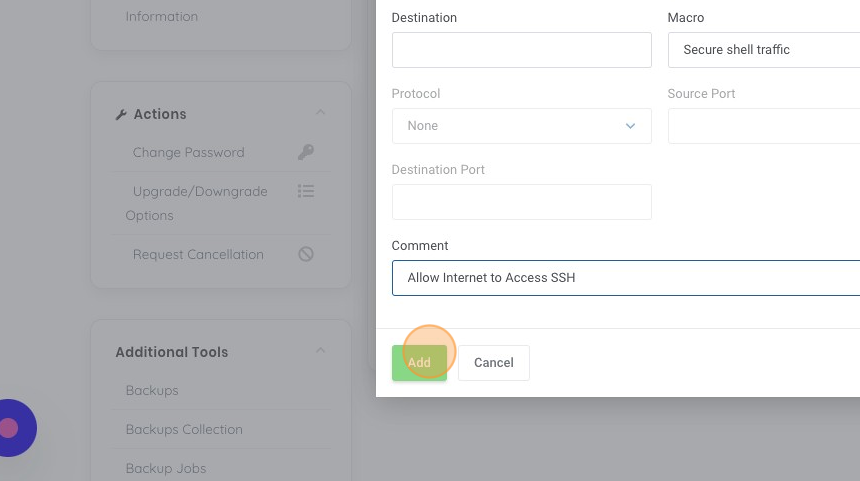
17. Once again lets add a helpful comment into the comment box to help us understand this rule later from the overview, in this case lets use "Allow Internet to Access SSH" and then click "Add".
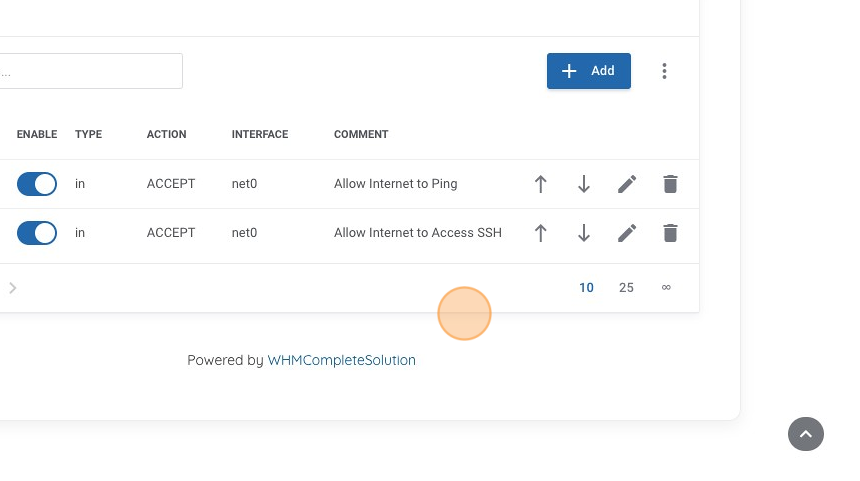
18. I like to organize my rules in priority flowing order, in this case I want to keep my "ping" rule as the first rule. You can use the up and down arrows to adjust the order, in this case let's click the "move up" button.
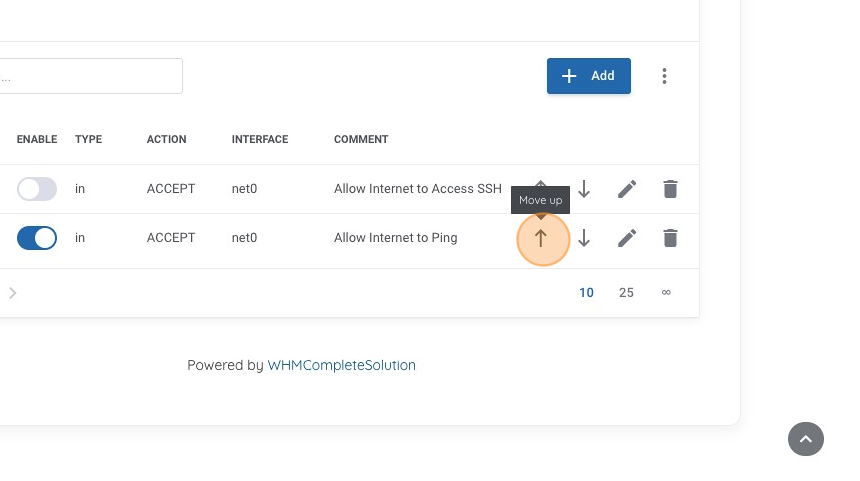
19. Now we can see that our first rule enables "ping" and now our second rule is to allow "ssh". But we didn't enable the rule right away when we created it, so let's go ahead and do that now by clicking on the "enable" toggle, to make the rule active.
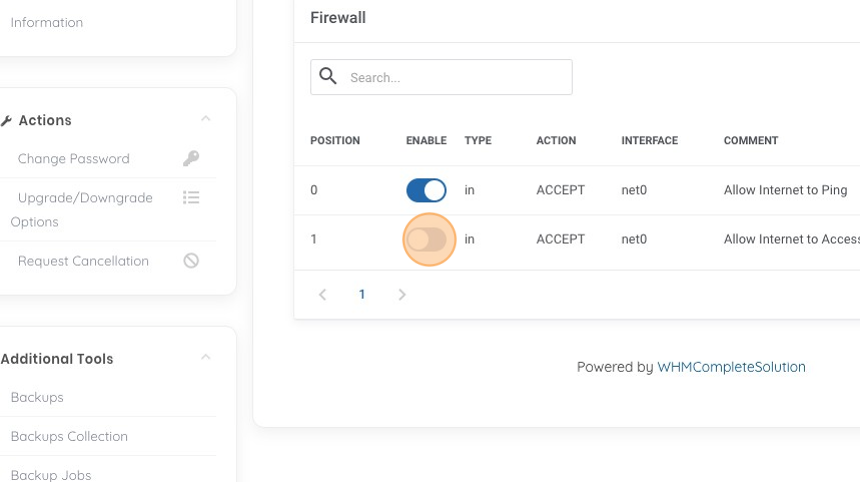
20. Now we can review our current Firewall rules. In this case we see our two rules that are enabled and now should be able to both ping our machine and connect to it via SSH.