Overview
Nobull Networks offers game servers, which allow you to run a private instance of a game for your use. In this knowledgebase article, we will walk through the basics on how to access the specific game panel for this service, by originating through the Nobull Networks Client Portal.
Article Content
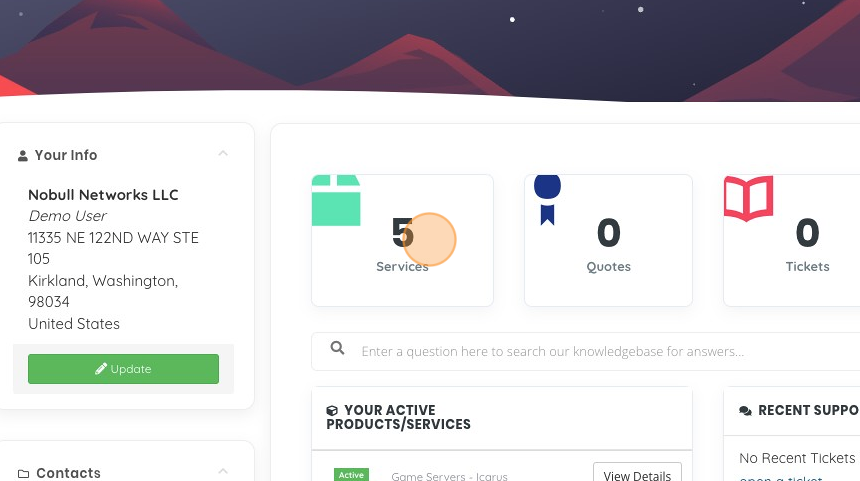
1. Starting from your client portal, be sure to click on your "Services" tab to take you to a list of your services. Alternately you can click on one of your active services by selecting "View Details" on the service listed.
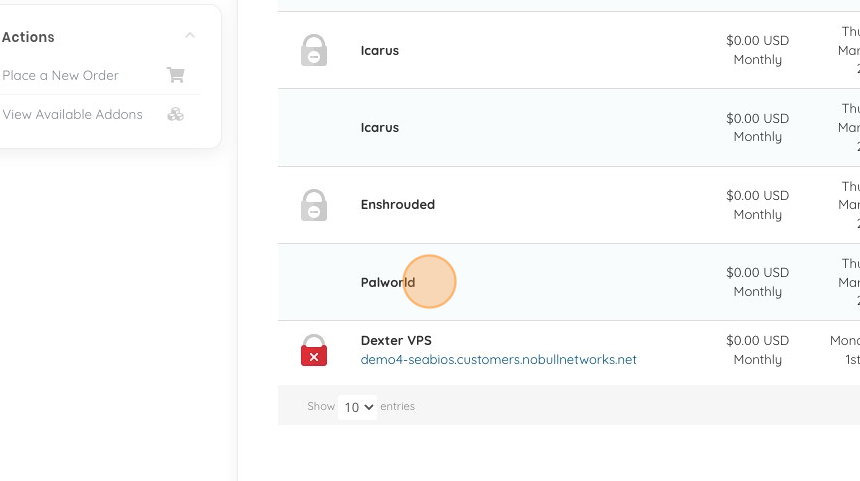
2. In this example I'm going to click on "Palworld" to start managing it.
3. From this section, we can see the high-level functions that would control our game server. In this case we want to get to the Game Panel and as such we will need to click on "Go to Panel".

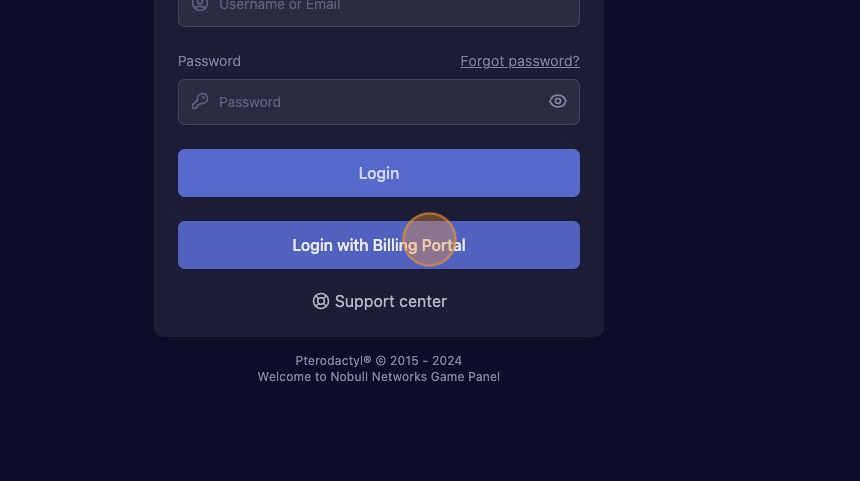
4. If you are already logged in, you will be taken directly to the game panel interface, on your first login or on return logins via a different browser you should click "Login with Billing Portal". You may be asked to provide your billing system credentials on the first use, this is normal and allows you to use the same credentials to access the game panel as the ones for our billing system.
5. You'll be taken to the game server you selected from the previous step, in this case Palworld. Your default dashboard is the landing zone to give you high level information for your game server. Next, we will click "Console" to migrate to the console page.

6. Here we get additional information as well as a console "terminal" output from the game server itself. You can also issue commands into the game servers console from this location. Next, we will click on "Settings".
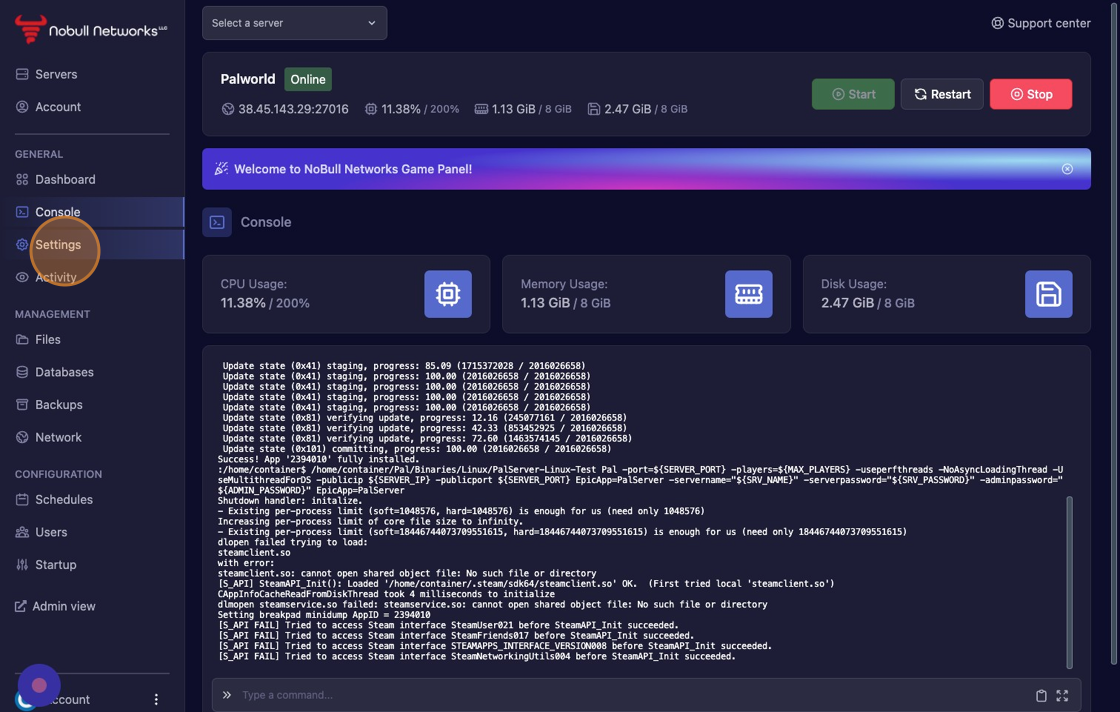
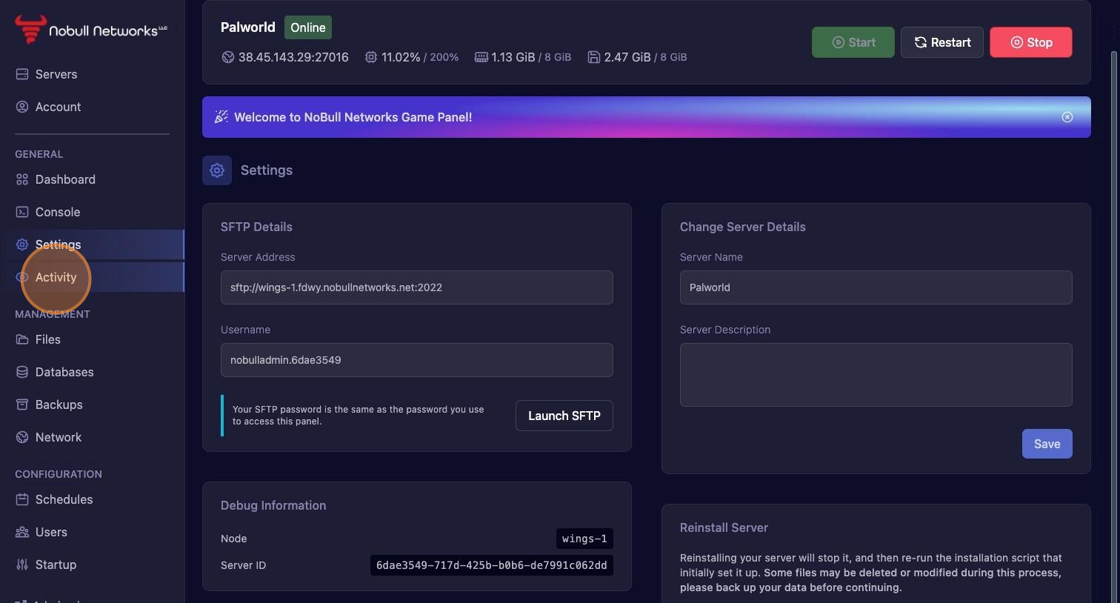
7. From the settings page we can see additional information such as how to change the server's name, what node it is located on, which is helpful for announcement notifications, as well as our SFTP related information. Next let's check out the activity log by clicking on "Activity".
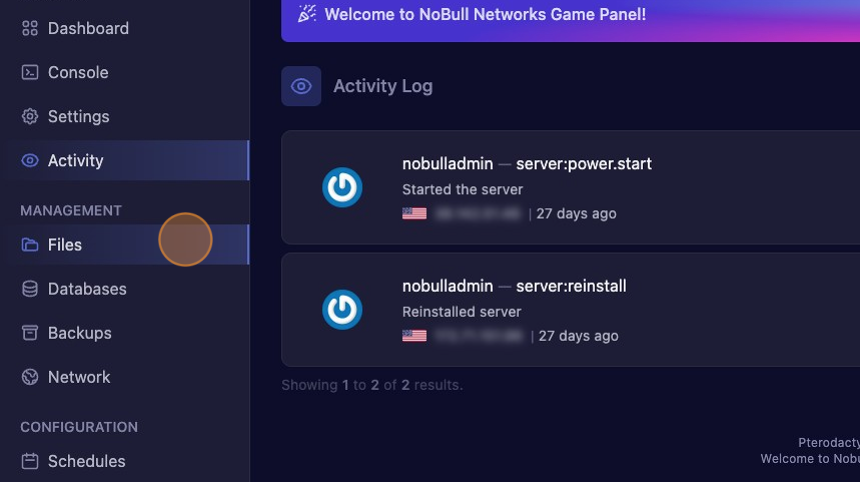
8. You can see the activity log gives a user and the action that they took, by default the IP is blurred but if you hover over it, it will be revealed. Next let's take a quick look at how we can manage files via the web browser by clicking on "Files".
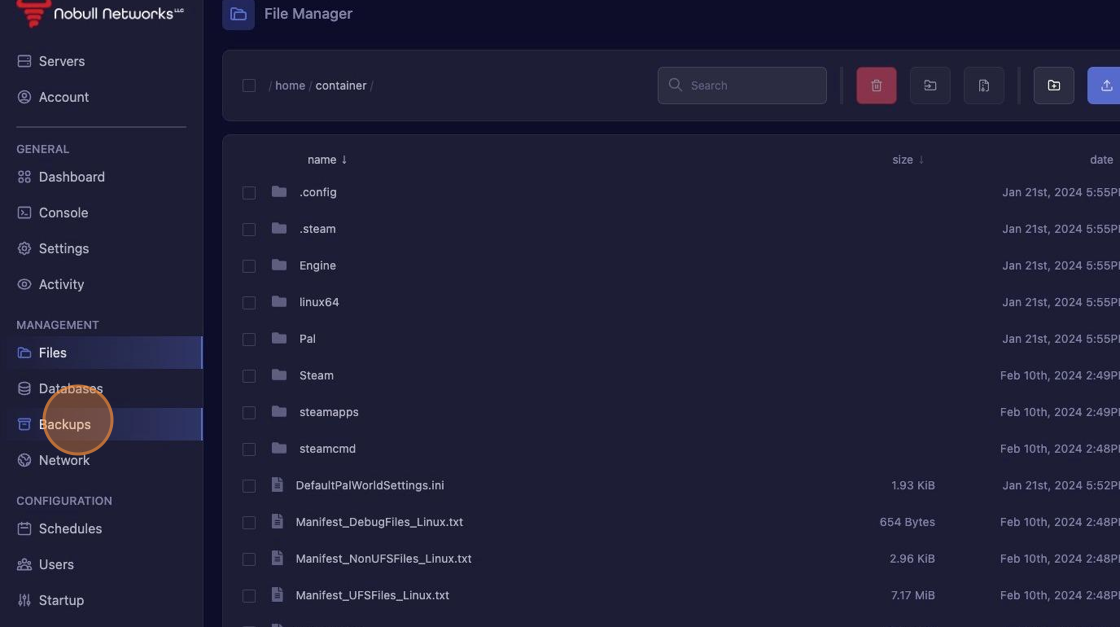
9. The Nobull Networks game panel has a very robust file browser that allows editing, uploading, deleting, and normal functions all without having to connect with another client. Let's check out the backups interface by clicking on "Backups".
10. Backups allows us to create backups of our game panel, if enabled for your product. You can create via schedule or manually. Next, we are going to click on "Network" and take a quick look at the network settings.

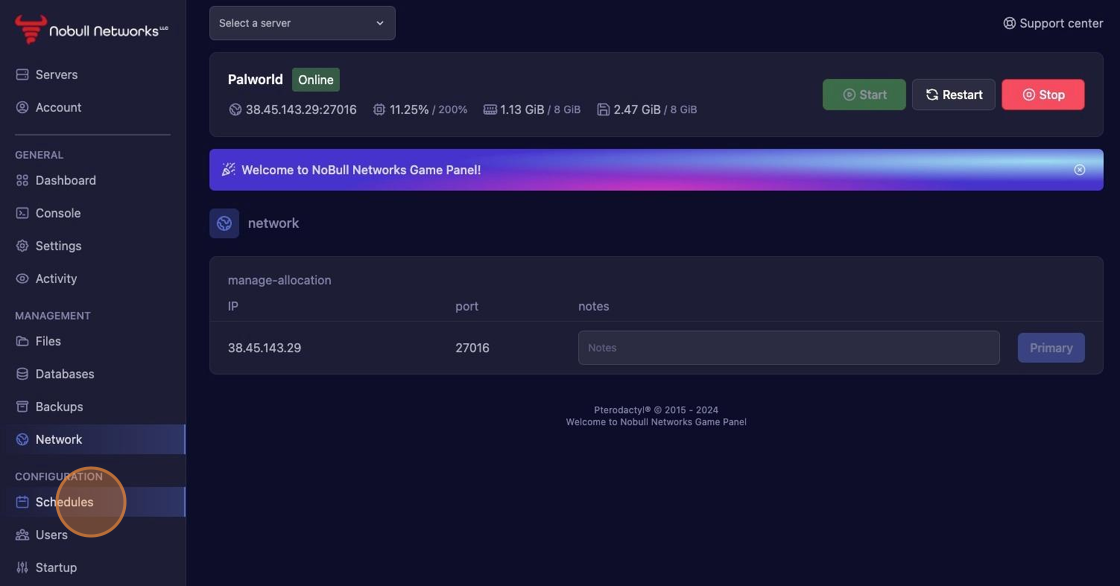
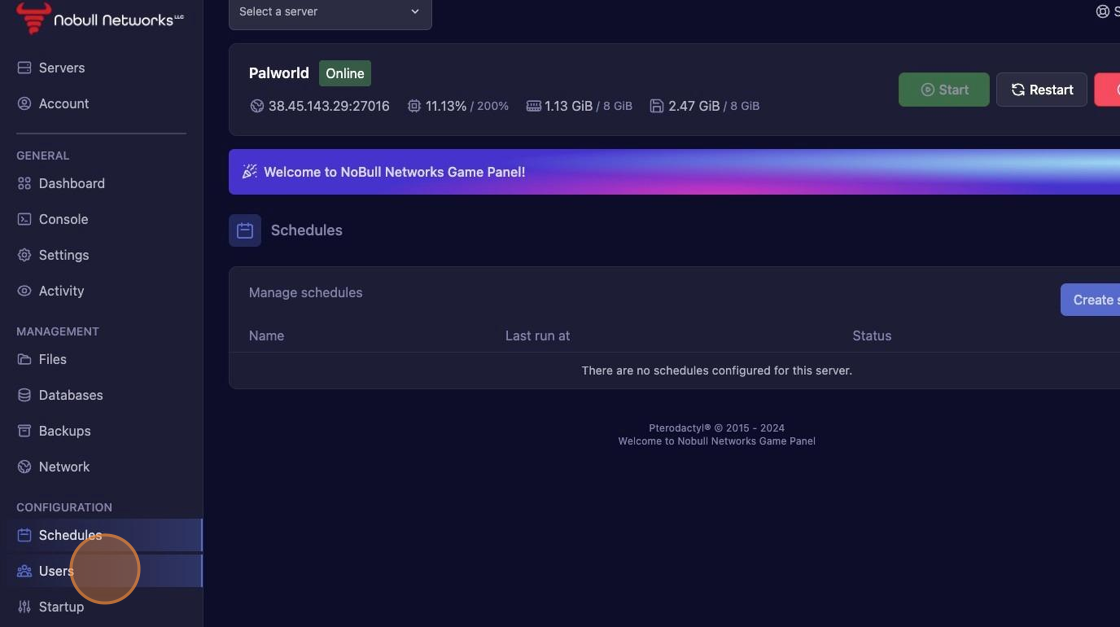
11. Here we can see all the allocations provided to our game server. An allocation is a combination of an IP address and a port used to communicate with. By default, the lowest number allocation is assigned as the primary which in turn is the game server port. If you have a game with multiple port requirements you can adjust your primary port by modifying it here. Next let's click "Schedules".
12. Schedules allows you to have regularly initiated actions for your game server, such as restart at midnight every day, or create a backup if eligible every week. Check out the knowledge base article on schedules to learn more, but next let's take a look at "Users" by clicking on it.
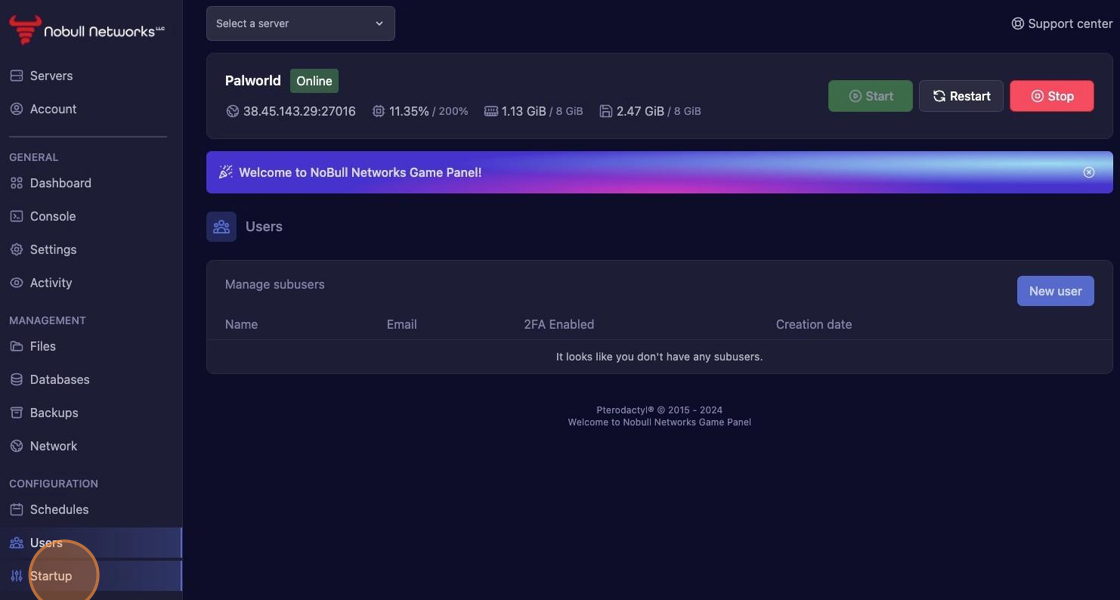
13. The Nobull Networks game panel supports sub-users, meaning you can provide access to your friends or family to be able to manage your game server as needed. This helpful function means that you do not have to share your main account (billing credentials) with anyone in order for them to access your game panel.
Conclusion
We hope that you have found this brief walkthrough on how to access your game panel, as well as highlighting some of the key areas of it, useful. Be sure to check through our other knowledge base articles on specific content surrounding each section, don't hesitate to reach out if you have questions or run into issues by creating a support ticket.
